


Objective: Learn how to create and organize your first Project on Archipad.
Steps to follow
- Log in to your Archipad account.
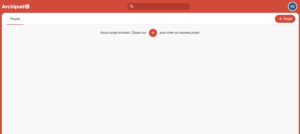
- From the Projects list, click on « + Project ».
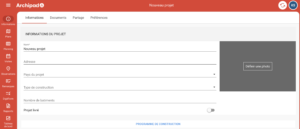
- Enter the Project information: Name, Address, country, Construction type, number of Units and add a Photo if necessary.
- Then add the Participants by entering their details: name, first name, Email address, etc.
- Create your Work packages and associate, if needed, specific Documents to each Work Package.
- Also add the Documents linked to the Project in order to centralize all important Information.
- Customize the Project settings: dates, Marker color, attached Documents and other options.
- Finally, Synchronize your Project to Save the data and make it accessible to all Participants.
Tip: Remember to Synchronize regularly so you don’t lose any changes.